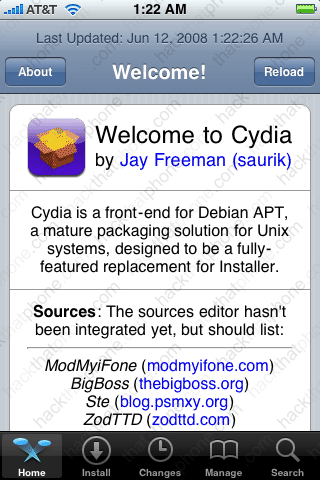
What is Cydia? It’s just like Installer, but it is open source and has more features. And more importantly, fewer problems to fix. If you’d like to learn more about Cydia, then check out the author’s site here. Let me put out some critical information up front, before I get into the installation of this program.
- You can have Cydia and Installer both on the iPhone. This is not necessarily a replacement for Installer, but it could be.
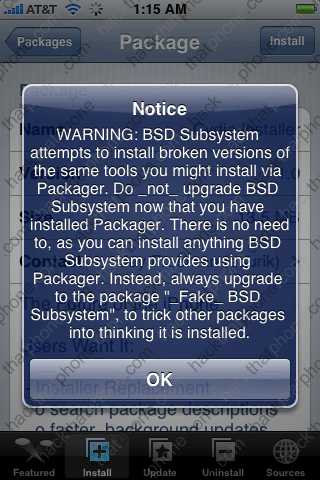
- If you have already installed BSD Subsystem via the Installer, then it will be overwritten and a better version will be installed in its place via the Cydia program. You must never update BSD Subsystem via the Installer ever again as you could damage the installation files that Cydia will create.
- If you should use any programs from the Installer that require BSD Subsystem to run, then you should use the program called Fake BSD Subsystem which can be found in the System folder of the Installer.
- If you should use Cydia on an iPhone with applications and personal data already installed, and haven’t used a program like BossTool to move them to the larger disk partition (where the bulk of your storage space is), then it will automatically move them for your freeing up space on the smaller partition.
- Once installed, you should occassionally refresh Cydia’s repository to make sure you have current version of programs that you install.
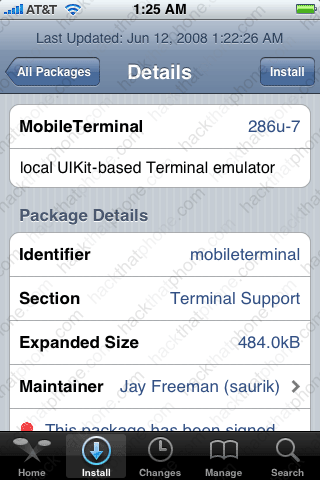
- You can install Mobile Terminal and not have to install fix files for it or for BSD SubSystem like you do with Installer. Most importantly, you can change your master password to the iPhone! The Mobile Terminal will also not end your session until you logout of it, nice.
Step 1.
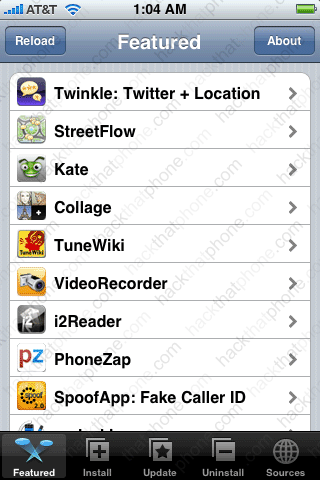
If you followed my Step 1 guide for activating, jailbreaking, and unlocking the iPhone, then you should already have the Installer installed. Make sure your Auto-Lock is set to Never. Launch the Installer. It will open on the Featured page.
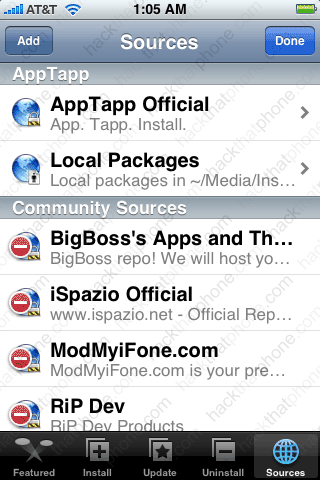
Press the Sources icon at the bottom. Press the Edit button at the top right. Now press the Add button at the top left.
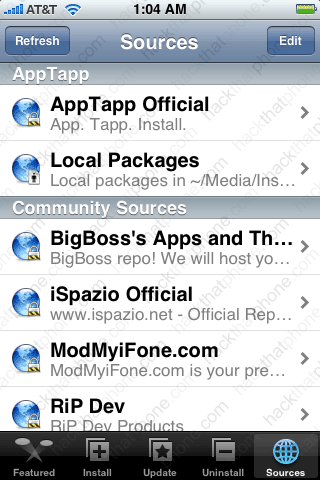
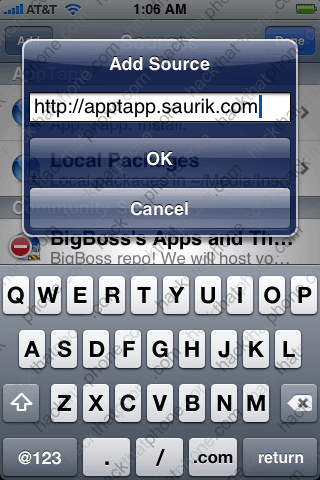
Enter apptapp.saurik.com, then press OK. It will refresh the sources and you will be back at this screen. Press the Done button.
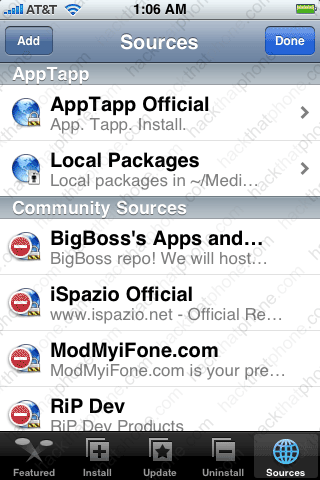
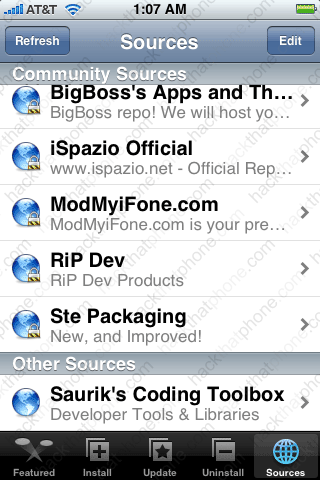
You should now see Saurik’s source at the bottom.
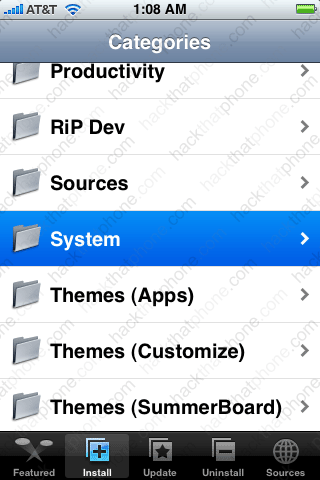
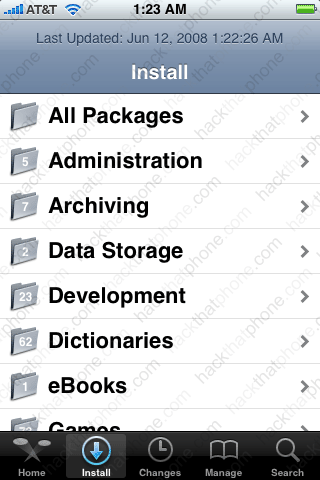
Press the Install icon at the bottom. Scroll down to the System folder and press it. Select the Cydia Installer.
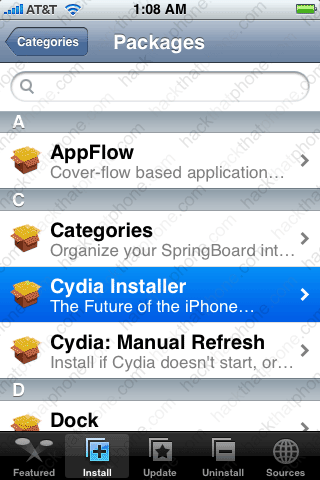
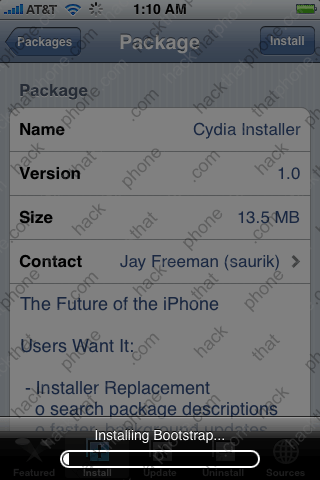
Install this program. It will take a while to download.
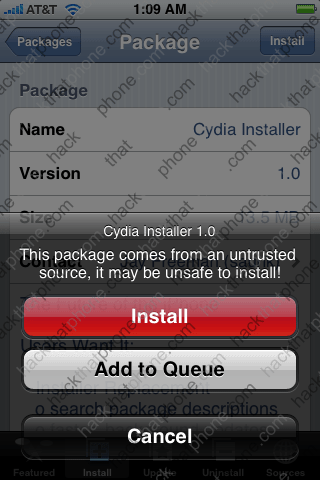

Make sure to read this and press OK. Installation will begin.
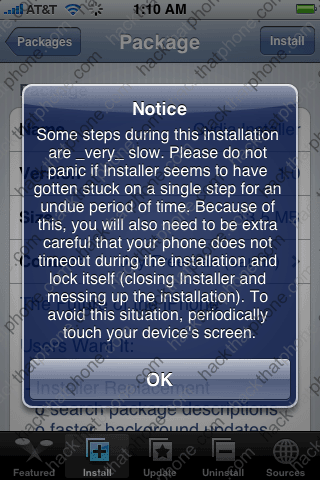
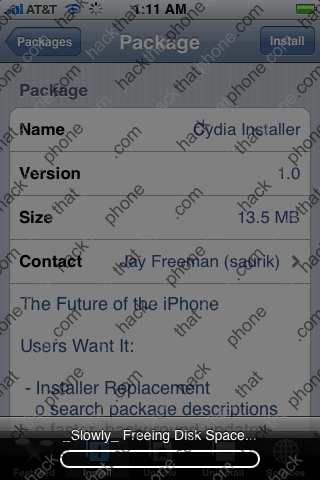
Status messages will appear. Read this message then press OK.
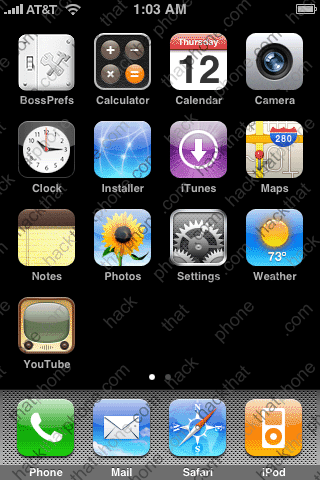
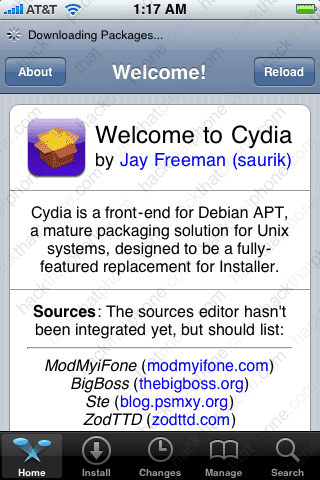
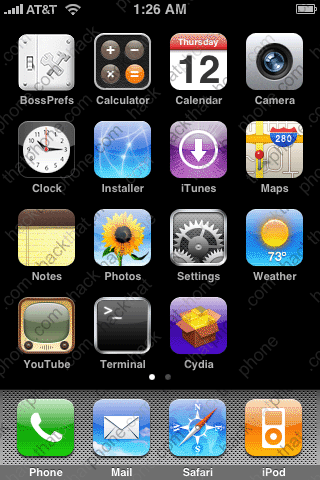
Here’s the program on the SpringBoard. Much of this program should look familiar to you if you’ve used the Installer.

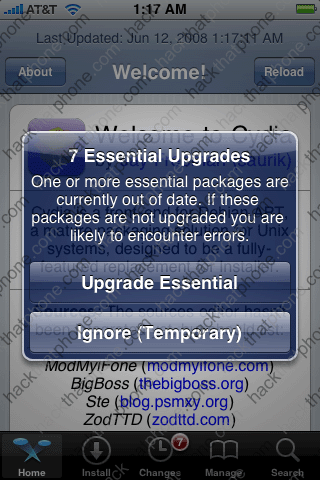
You should be prompted that there are updates that need to be installed. Press Upgrade Essential. Next press the Confirm button to add the updates.
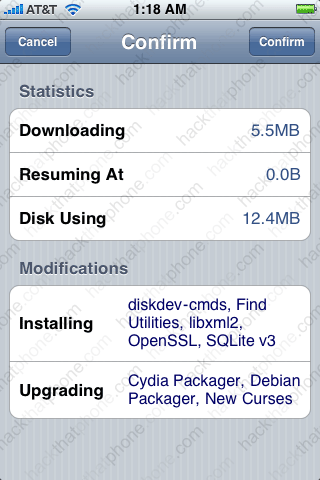
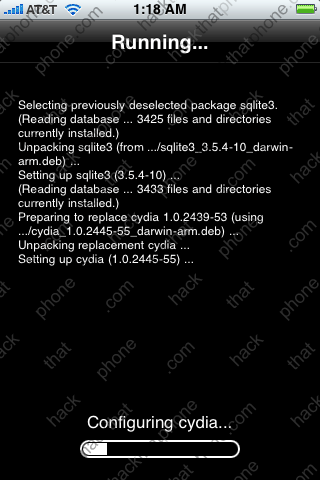
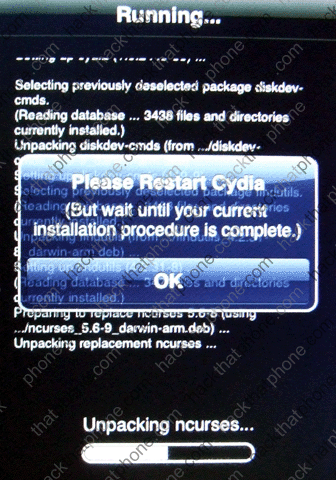
You’ll see status while the program downloads, and as Cydia is updated. A pop up will appear telling you to restart Cydia. Don’t do anything! Wait until the status bar at the very bottom has finished. It may look like it’s frozen, it’s not. Eventually it will go away. Then you can press the OK button and then the Home button to restart the SpringBoard.
You will be taken back to the main screen. Press the Install button at the bottom.
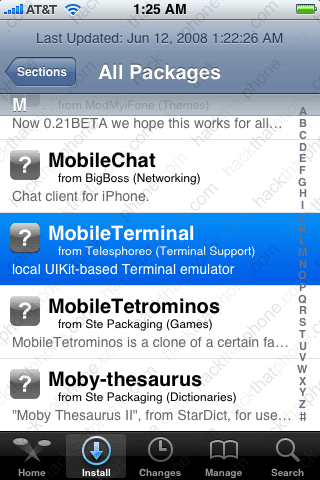
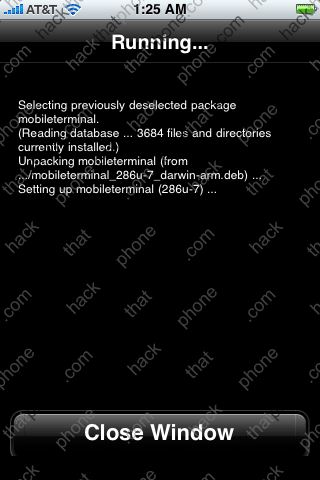
I then pressed the All Packages folder. I then installed Mobile Terminal which is a handy thing to have. Press Install at the next screen.
Once again you’ll see status as it the program is downloaded and installed. Press Close Window and then the Home button and you’ll see the Terminal on the SpringBoard.
Now let’s change the password from alpine to whatever we want…
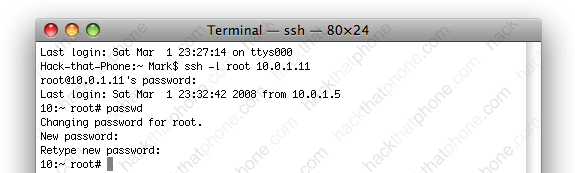
On your Mac, go to your Appliations folder, then into the Utilities folder. There is a program called Terminal. Launch it. I hope I am painfully clear here. As seen below you will enter two things into the Terminal. Note: after ssh – the character that follows is a lower case l (el), it is not an I (eye). The IP address is YOUR address. In my example it is 10.0.1.11 for MY iPhone. The next line is alpine, which is the default password, unless you changed it.
Note: if you installed the MobileTerminal (like I demonstrated above). You can use that Terminal to enter the passwd command instead of using the Terminal on your Mac. You would not need to SSH into the iPhone as the Terminal is already installed on the iPhone.
ssh -l root 10.0.1.11
alpine
Then enter this command:
passwd
You will then be prompted to enter your new password, and then confirm it. You’ll then be returned to the system prompt when it has been changed. That’s it.