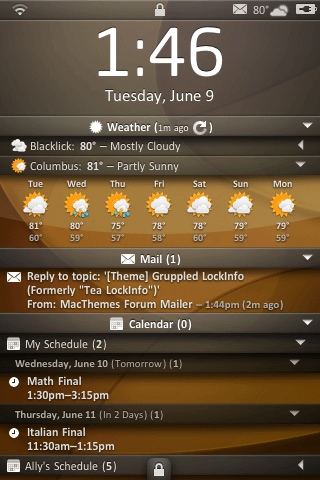
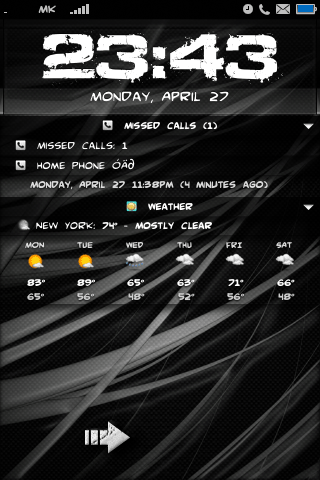
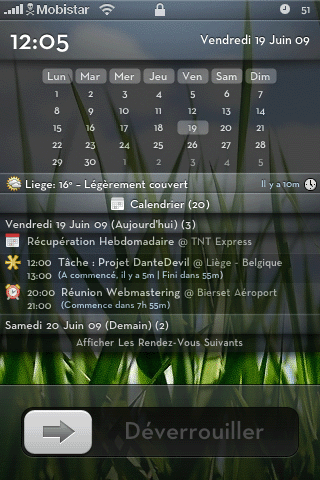
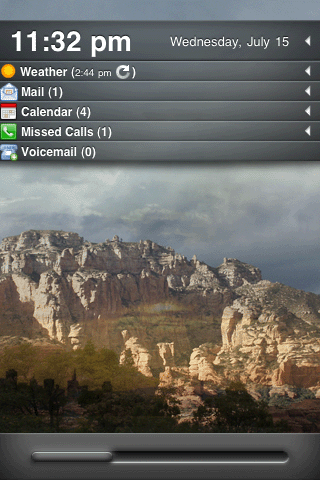
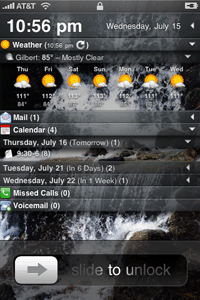
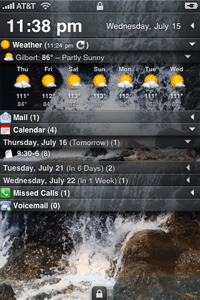
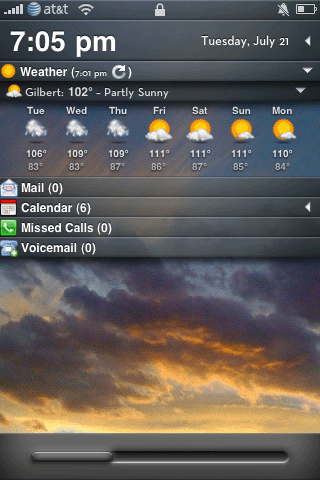
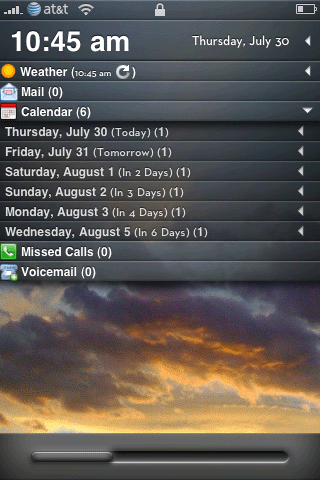
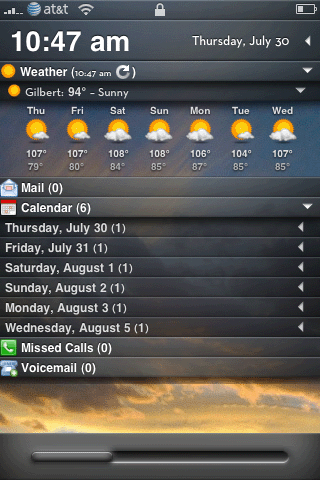
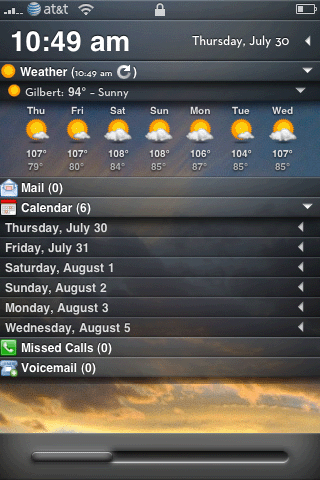
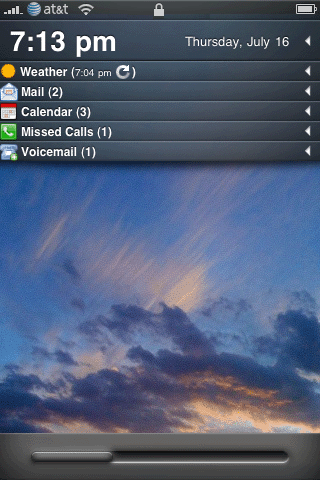
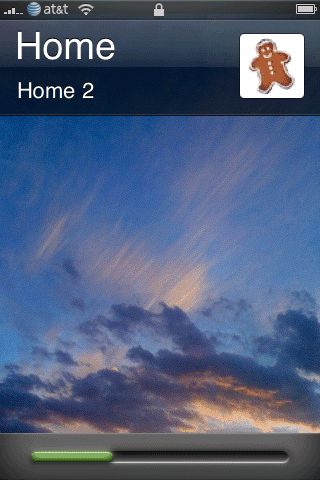
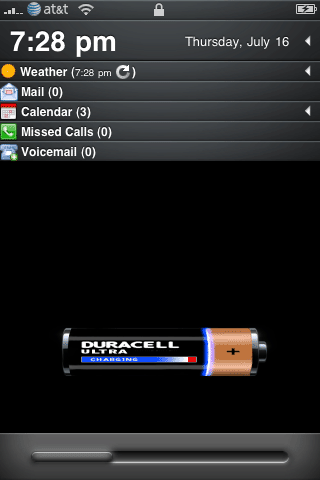
I came across this theme when I discovered the Multi Bar Lock Screen theme. This is a more advanced version of that theme as not only does it provide you with additional lock screen information, but it has expandable sections to include more detailed information. It also comes with a secondary art theme, which replaces an extensive amount of graphics that you may like.
- The original thread discussing this theme is at MacThemes here.
- The thread discussing Lockscreen Info (required to use the Gruppled theme), is here.
- There is a thread discussing how to customize Lockscreen Info by the program’s creator David Ashman, here.
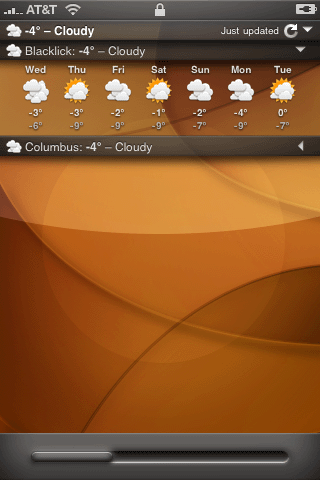
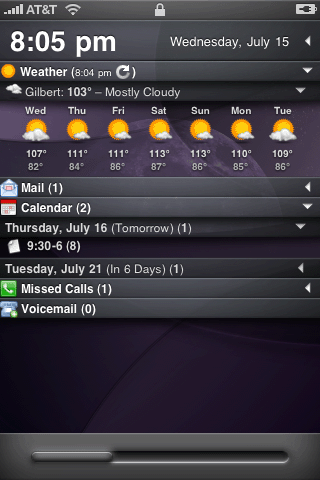
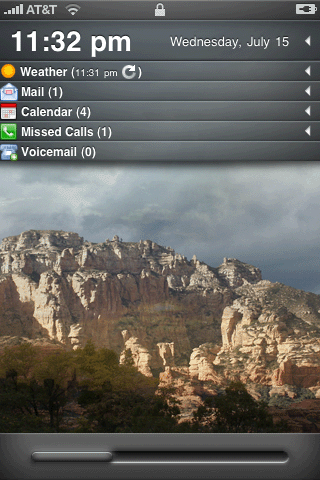
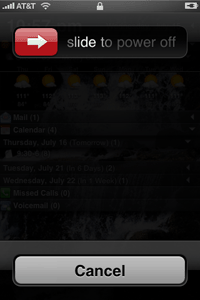
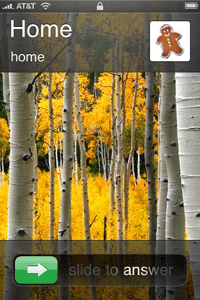
Here are a few examples of the theme. They all appeared in the first thread I linked to above.
Step 1: Installation
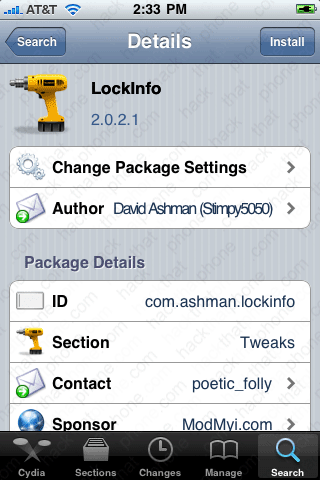
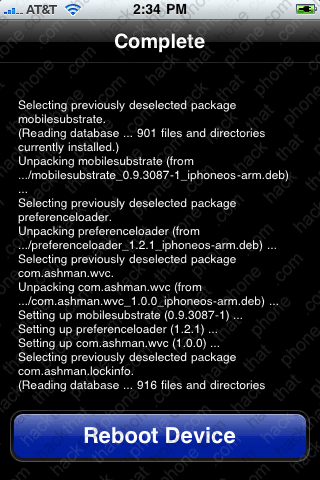
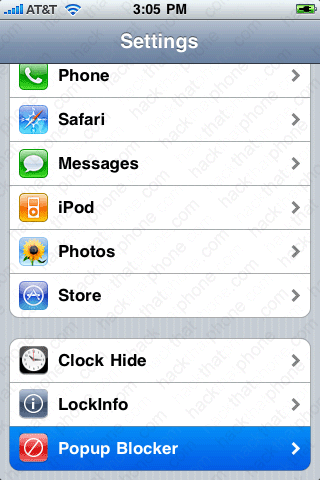
Here is how to set up the Gruppled theme. Launch Cydia and search for LockInfo. Install it. Press Reload SpringBoard when it has finished. Note: This program is updated very often. The version available may be newer than the screen shot I have posted.
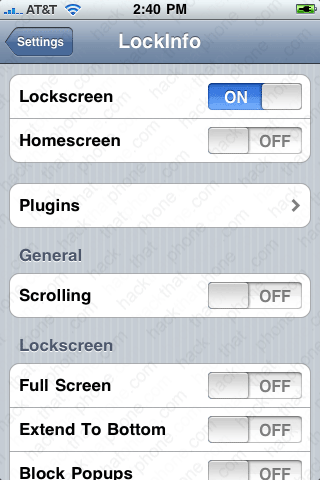
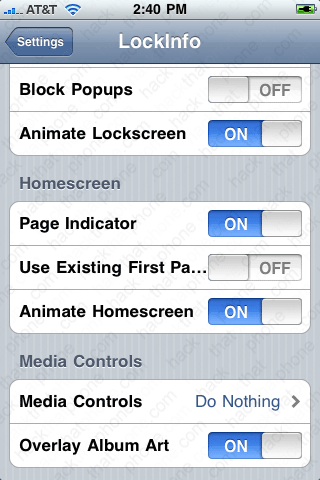
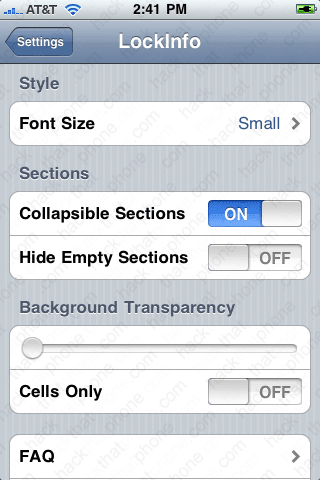
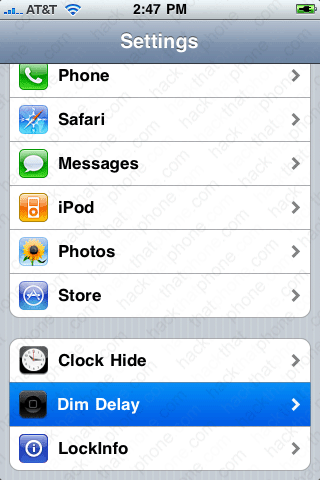
This will also create a control panel in the iPhone’s Settings application. Note: This program is available as a trial for 14 days. After that you have to purchase it. I receive nothing from the sale of this program.
Make sure to use this for configuration later on. These are my settings throughout this tutorial unless noted otherwise.
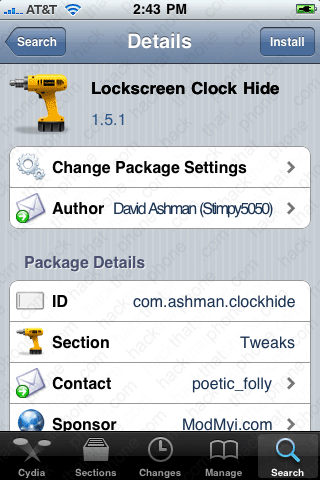
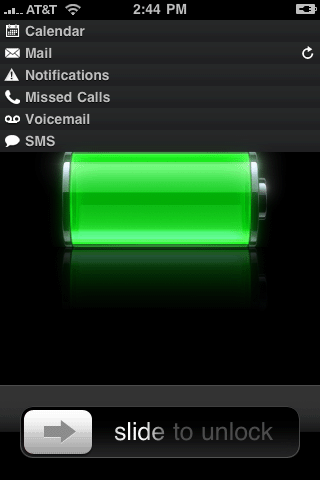
Install Lockscreen Clock Hide. When the iPhone reboots your lock screen will now look like this.
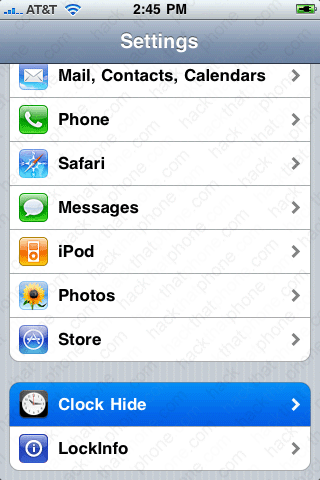
This program will also create a control panel in the iPhone’s Settings application. Make sure to look at this for configuration later on. These are my settings throughout this tutorial unless noted otherwise.
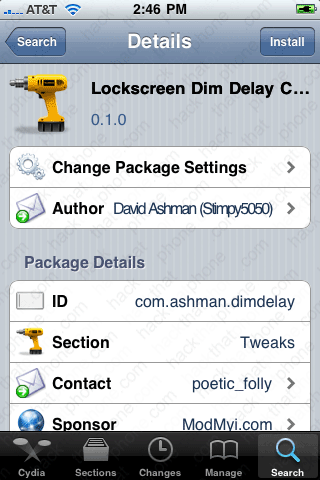
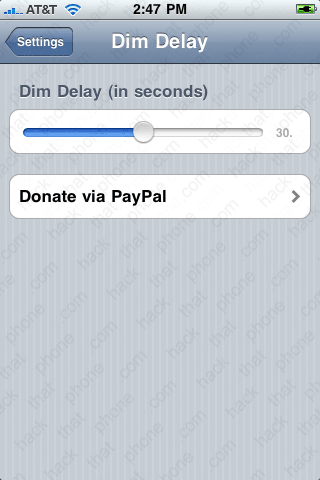
Also on Cydia, install Lockscreen Dim Delay Control. This program allows you to drag a slider to set how long your lockscreen stays illuminated – from 1 to 60 seconds. All the better to read everything this theme will display.
Download the original Gruppled theme files here. The author does not maintain these on Cydia, so it is best to download them from his site.
- Gruppled Art theme (custom sliders, numerous assorted replacement graphics)
- Gruppled LockInfo theme (controls all menus on screen)
- Tea LockBackground (only if you want a constant slideshow of images blending into each other based on time of day (which will hide the main charging battery graphic too). If all you want is your own static wallpaper then do not install this.
Note: Since these files are hosted on a site that limits Gruppler’s bandwidth and is unavailable from time to time, I’ve decided to host these files. They haven’t been updated in a long time, so you may want to check the links above to make sure you are getting the most recent version.
- Gruppled LockInfo.theme-0.9.5.2 6/15/2009
- Gruppled Art.theme 8/3/2009
- Tea LockBackground.theme 6/21/2009
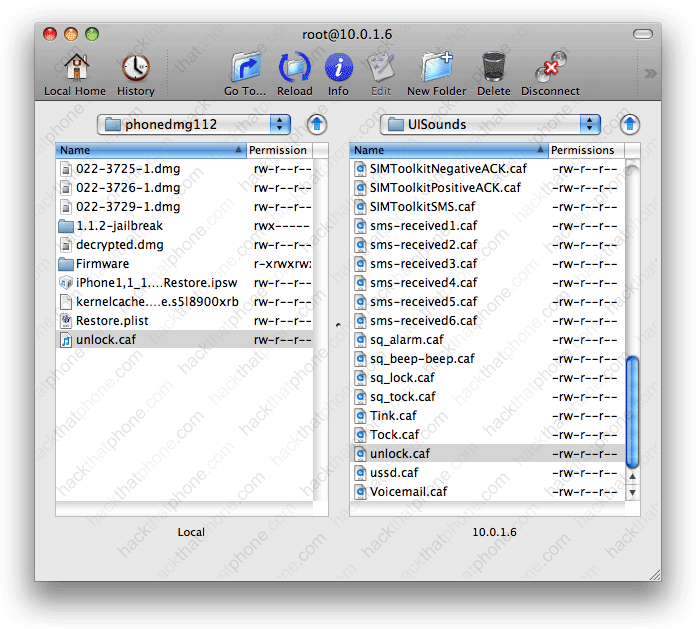
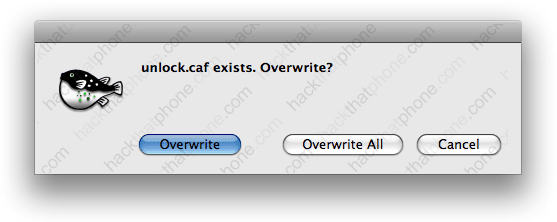
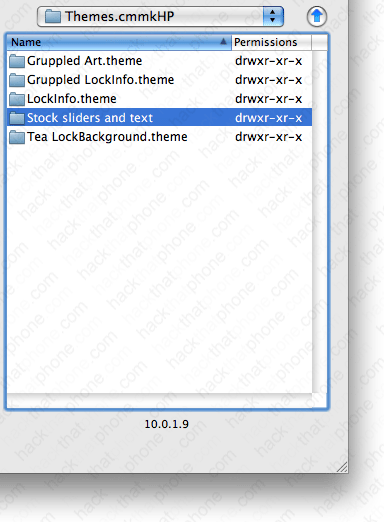
Decompress the downloads and place these three themes in to the /private/var/stash/Themes.xxxxxx folder on your iPhone. Don’t have this folder? Then install WinterBoard via Cydia. Don’t know how to place the files in this folder? Read this tutorial. From root, just double click on Library, and then Themes.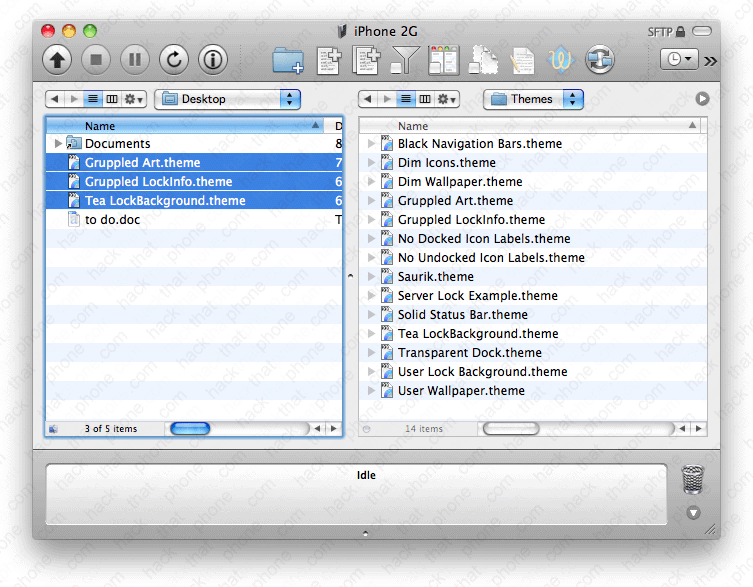
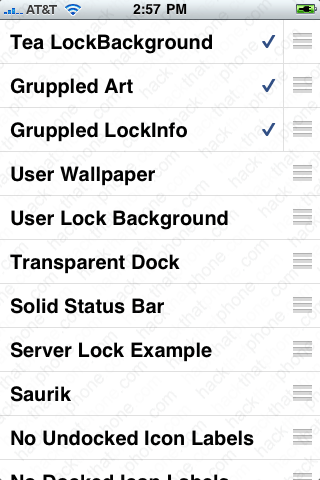
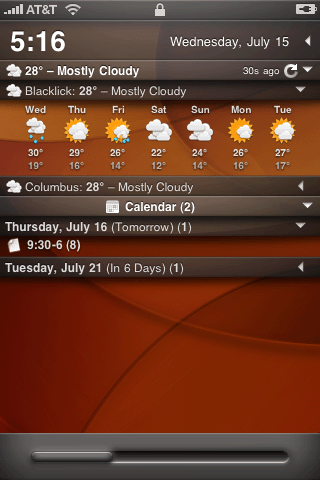
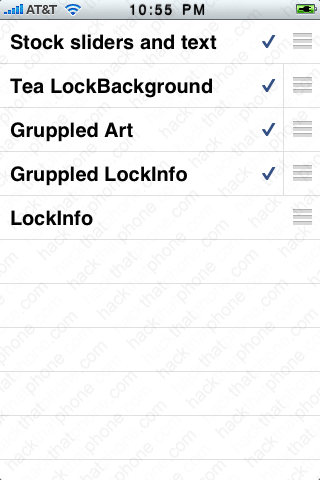
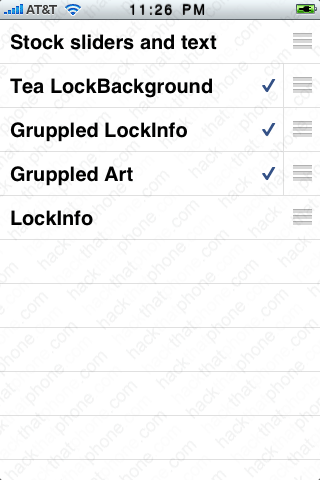
Launch WinterBoard and activate the Gruppled Art Theme, Gruppled LockInfo theme, and the Tea LockBackground theme. You should have your themes arranged in the same order as I do. Here is what the theme looks like in its default state. The wallpaper image may be different depending on what time of day it is. You may or may not have events listed in your Calendar section.
This completes the basic installation for the Gruppled theme. I am now going to demonstrate the changes I made to configure the theme the way I wanted. You can pick and choose what steps of mine you’d like to follow to come up with your own combination of course.
Step 2: Customization
The single most important file to customizing the Gruppled theme is called config.js. Before you can get to that file, and all the others, you need to rename the theme to remove the .theme extension so that it will behave like a regular folder. Just so you know, themes do not have to have the .theme extension to function correctly in WinterBoard.
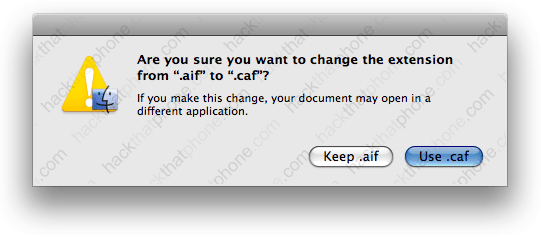
Click on the file name so that it becomes editable. Delete the .theme portion and press return. The Mac will prompt you to confirm this change. You now have a normal folder to work with.
Now go to Gruppled LockInfo/Bundles/com.ashman.LockInfo/config.js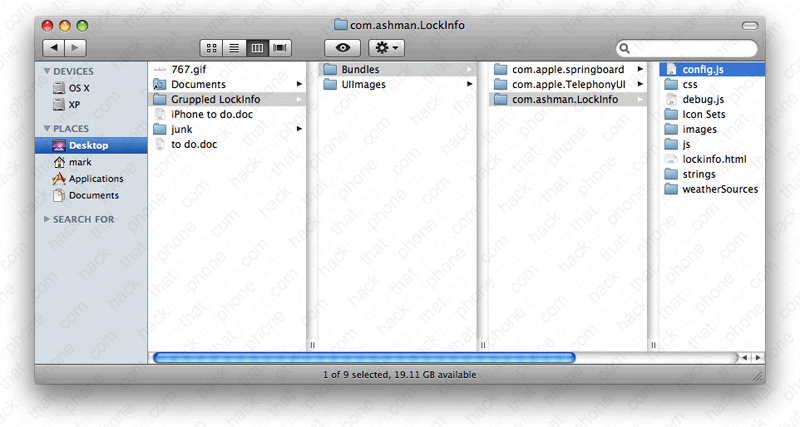
I would edit the downloaded file first, then upload it to the iPhone to check your work. This way you will always have a backup of what is on your iPhone. I use BBEdit as my text editor. You can download a trial version of it here. Windows uers you can download Notepad++ for free here.
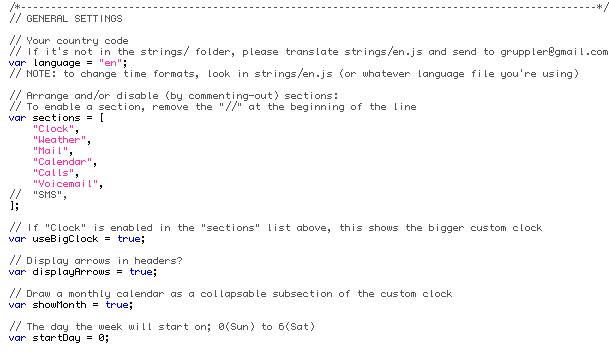
Section A – General settings
The first thing you should do is set your language. This is at the line var language = “en”; en is short for English.
A reader contributed an already edited Dutch language file. You can download it here.
Next decide which information sections you want displayed on your lockscreen. Your choices are: Clock, Weather, Mail, Calendar, Calls, Voicemail, and SMS. You can also change this order by rearranging the items in the list. Put two backslashes in front of any section you don’t want displayed – I chose SMS as I never text. I kept my order on everything else the same. Note: read this file carefully, there are options that I will not be covering with graphic examples.
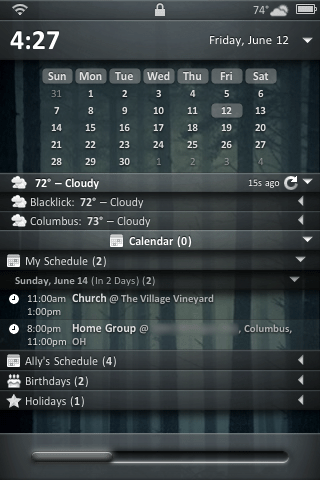
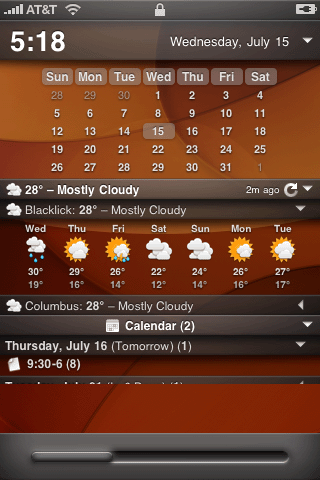
Upload the config.js file back to the iPhone and respring (I use SBSettings to do this, you can also use WinterBoard to do it, by pressing any theme name and then pressing the Home button) to check out your changes. There is a bug with 3.0 firmware where the status bar disappears. If you can’t launch SBSettings because of this, then click your Sleep/Wake button, press Home and the status bar will reappear. There is now a clock bar on my screen. Press this bar and the calendar drops down! Excellent.
Other options in this general settings section include making the clock text and date match the rest of the text (smaller), turning off the arrow graphics (for the drop down menus), turning off the drop down calendar, and choosing which day of the week to start your calendar with. Don’t be afraid to experiment!
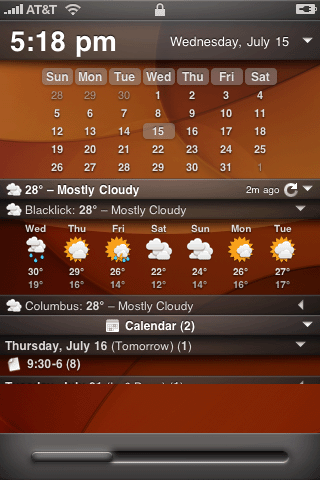
While I now have a clock enabled, it doesn’t tell me if it’s a.m. or p.m. This is an easy fix. Go to the Gruppled LockInfo/Bundles/com.ashman.LockInfo/strings/en.js file. If you are in a non-English speaking country, then substitute en.js for your country abbreviation, i.e. Spain would be es.js.
If you want a.m. and p.m. in lower case letters, and with a space between them and the time, then change this section like so:
Then upload this file to your iPhone, at the same location. You can read more about formatting the date line at the PHP.net website here. Respring the iPhone and there it is.
Section B – Setting your weather location(s)
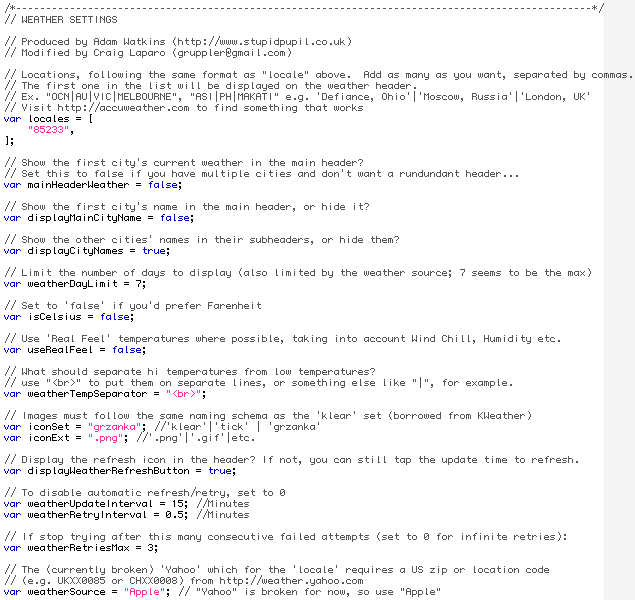
Unless you happen to live in Blacklick or Columbus Ohio, then you probably want to change where you see the weather forecast from. You can list multiple cities, or just one. There are a lot of things to configure in this section. Compare your file to my edited file below.
I only want one zip code checked, so I substitued mine, and removed the second zip code from the list. If you want to check more than one zip code, you may want to set var mainHeaderWeather to false. Doing this will display the word weather for the section header, instead of just duplicating the temperature and conditions from the first city in your list. The other critical item here is what scale do you want to use, Farenheit or Celsius? Change this value here: var isCelsius = false;
Other options in this weather settings section include how many days to forecast, showing the cities’ name in the header, using “real feel” temperatures, how to separate the high and low temperatures, which icon set to use for weather graphics (built in choices are tick and klear). I have added a third set of icons called grzanka. You can also hide the refresh icon (yes, pushing it actually works), set the update interval for the forecast and set a maximum failed attempt counter for the weather. Yahoo weather is broken, so leave the Apple setting alone.
If you want to customize font faces, styles and sizes, then you’ll want to edit the style.css file found at Gruppled LockInfo/Bundles/com.ashman.LockInfo/css/
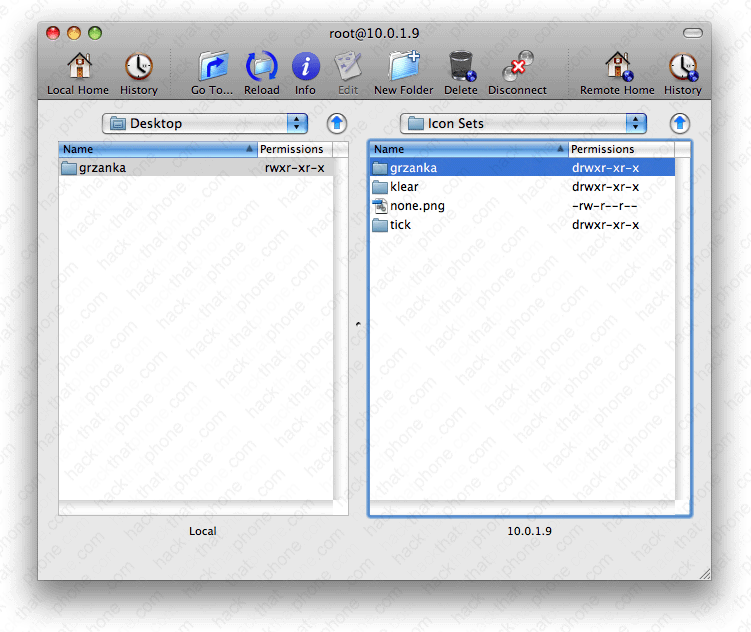
If you want to use the grzanka icons (I can’t remember where I found them), you can download them here. Install this icon set in Gruppled LockInfo/Bundles/com.ashman.LockInfo/Icon Sets.
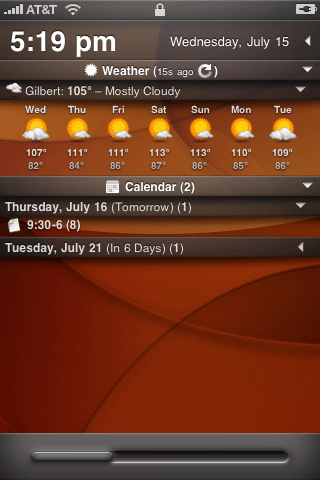
Respring, and now I have a Weather section header, and my city listing. I also have a different icon set.
Section C – Customizing the section headers
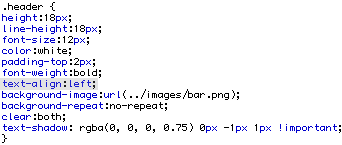
I wanted my section headers (Calendar, Weather, et cetera) aligned left, instead of centered. To change this, go to Gruppled LockInfo/Bundles/com.ashman.LockInfo/css/structure.css. In the .header section, change the text-align: to left.
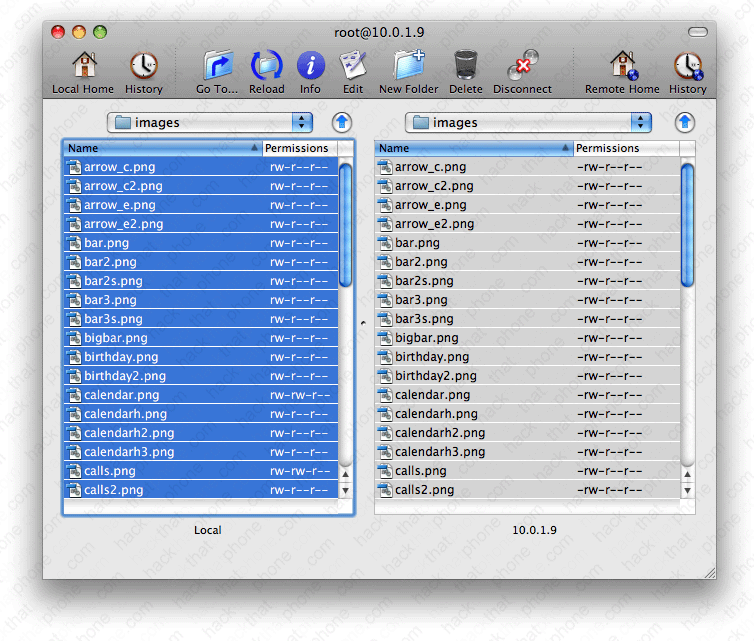
I then changed the icons for the sections header (Calendar, Weather, et cetera). You can download these icons here.
The icons are: calendarh.png, callsh.png, mailh.png, smsh.png, voicemailh.png, and weatherh.png. I’ve already set alternate graphics to be the default in this set. So the original icons have a 2 appended to their file names. Other alternate graphics have a 3 appeneded to them and so on. Switch them as you like. These icons are located in Gruppled LockInfo/Bundles/com.ashman.LockInfo/images. I have included alternates for other icons that I haven’t mentioned in this folder also, so experiment.
Respring and here’s the new look.
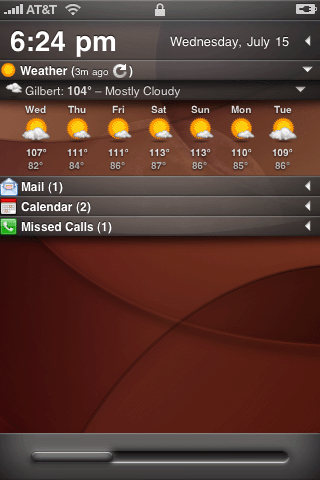
Section D – Removing relative time
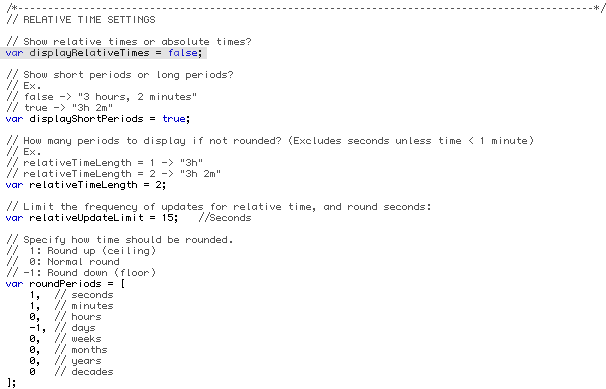
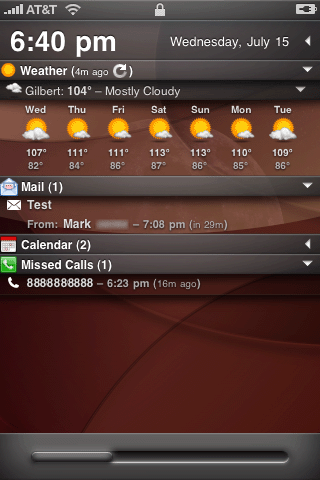
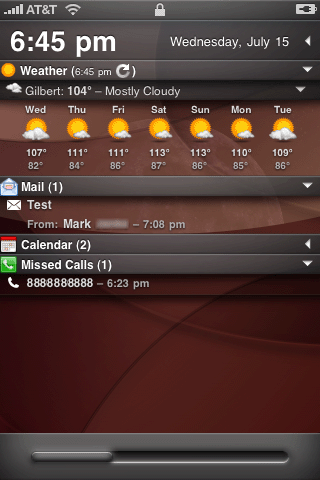
Now that my section headers are the way I like them, when you open the mail and calls and voicemail sections, they will tell you not only when someone mailed you or called, but how long it’s been since they did. I find this information to be unnecessary, so I removed it.
Once again, edit our friend the config.js file, and set var displayRelativeTimes to false
Here’s my before and after.
Section E – Expanding or collapsing sections by default
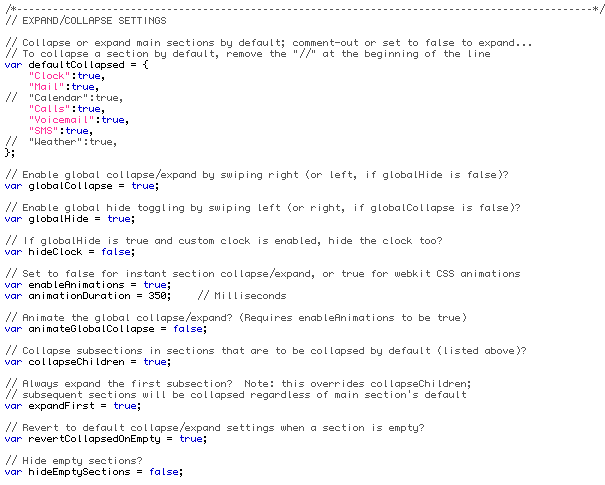
Once again edit the config.js file to change these settings. You can configure which sections are opened or closed by default. I realize the instructions are a little confusing regarding this. When something is commented out, and set true, then it is open by default. I also set my expanding and collapsing animations to true and changed the duration to 350 miliseconds, which I liked better than the default 450. I also unhid my empty sections; I just like to see everything.
The script above displays the lockscreen this way by default.
Section F – Customizing the Tea LockBackground theme
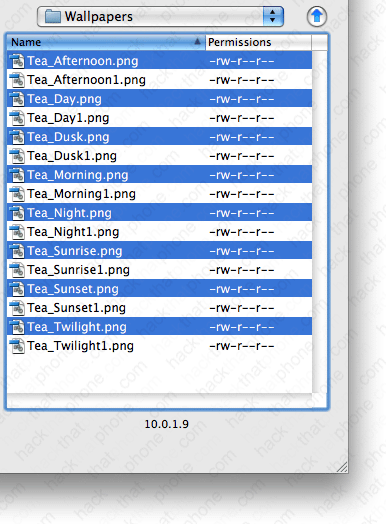
While I do like the artwork in the wallpaper theme, I’d rather see my own photographs instead. Here is the easiest way to substitute your images into the already existing theme. Go to your Themes.xxxxxx folder. Go into Tea LockBackground.theme/Wallpappers. You will need eight images (unless you want to figure out how to rewrite the control script to add more images) named the same thing as the existing images. Each image will display for three hours of the day. Remember, you need to be able to read the various sections on your lockscreen, so I would select images that are more muted, or at least don’t have blown out bright areas in them. Keep in mind, scripts that control wallpapers are battery drainers.
Before adding my pictures to the Wallpapers folder, I renamed all the original images by appending a 1 on theme, just in case. I still don’t like the image blending I always seem to catch (except in this screen shot), so I’ll cover another method of displaying your own images (and regaining your main battery charging graphics too). It will involve the removal of the Tea LockBackground in its entirety.
Section G – The disappearing status bar…
Sometimes this graphic just decides to do its own thing. I hear it’s a bug with 3.0 firmware.
To solve this simply edit the info.plist file found in the Gruppled Art theme. Remove the two highlighted lines completely. Then reupload it to the iPhone.
Section H – Alternate TelephonyUI graphics
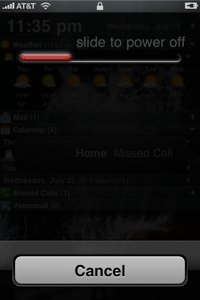
So far all my screen shots have shown the slider graphics found in the Gruppled Art theme. If you would rather use the default slide to unlock, slide to answer, and slide to power down graphics (or any other graphic you like), simply replace the graphics in the Gruppled Art.theme/Bundles/com.apple.TelephonyUI folder, and replace the text file (SpringBoard.strings) in the Gruppled Art.theme/Bundles/com.apple.springboard/en.lproj folder. Or you can just download this stock theme I made here, which includes the original graphics and text. Note: I’m only including the en.lproj file, you will have to localize non-English files.
First, transfer this folder to your Themes.xxxxxx folder. Then place the theme above the Gruppled Art theme in your WinterBoard list and activate it.
There they are, the stock sliders and text are back again. Why are my wallpaper images different from the first to the last image? Because In the first screen I’m using Tea LockBackground and I’ve replaced the stock wallpaper images with my own images. In the third screen, I’ve set the trees photo as my wallpaper from the default wallpapers folder in the Settings menu. I’ll be fixing this mess in Step 3.
If you would rather tap to unlock instead of sliding, simply place the Gruppled LockInfo theme above the Gruppled Art theme.
This creates a real mismatched set of controls however… If you want to customize the lock/phone button at the bottom, then create custom bottombarknobgray.png, and bottombarknobgreen.png files and place them in Gruppled LockInfo/Bundles/com.apple.TelephonyUI.
Section I – Blocking system pop up graphics
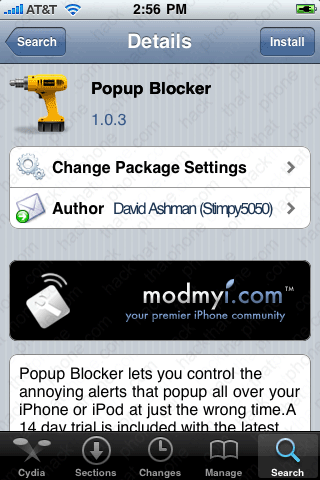
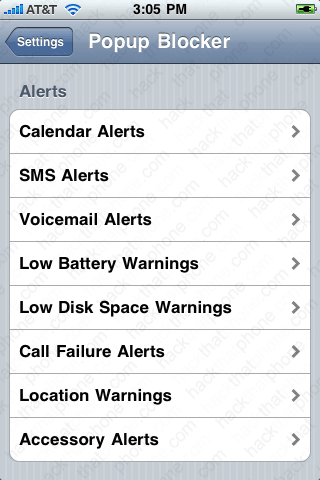
When you miss a call, receive a voicemail, et cetera, the iPhone sends you a pop up alert (and a tone) like the one below. This pop up can be turned off. Launch Cydia and go to the david.ashman.com/beta repository. Install Popup Blocker. Restart the SpringBoard, and pop ups will be blocked. Be sure to go into the Settings application. Popup Blocker installs a very detailed control panel in there.
Section J – Getting the silent mode icon to show up in the status bar
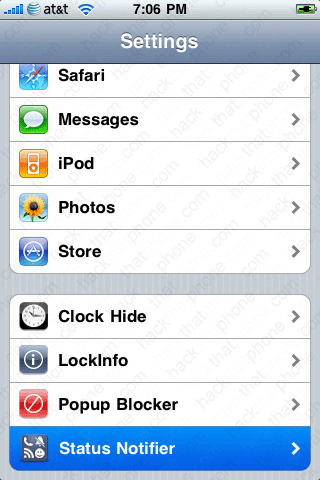
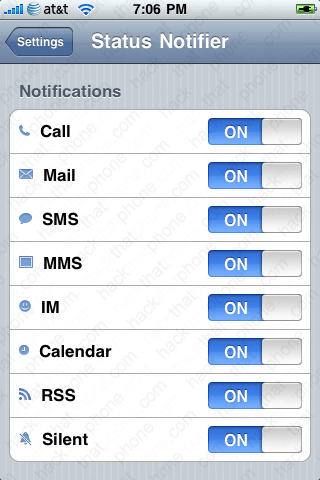
I’ve got three iPhones and this is the only way I can make the silent mode indicator appear in the status bar. Launch Cydia, then add http://cy.sosiphone.com as a source. Then install StatusNotifier. Turn on silent mode and you should see the icon for it in your status bar on the lockscreen.
If you would like to further configure StatusNotifier, then launch Settings, and you will see there is a menu entry for it.
Section K – Removing relative dates, and/or the events counter
In my calendar section I don’t like that it tells me an event is occurring in 2 days, in 3 days, et cetera.
Here is how you remove that. Download my edited lockinfo.js file here. Decompress the zip file and upload the .js file back to the iPhone at Gruppled LockInfo.theme/Bundles/com.ashman.LockInfo/js/. Respring and you will see the change.
If you want to know exactly what I changed in the script, then go the thread discussing this theme here, and read post #2563. Read the code example that Gruppler posted.
If you would also like to get rid of those numbers in parentheses next to the date, then download my other lockinfo.js file here. Decompress the zip file and upload the .js file back to the iPhone. Respring and you will see both changes.
If you want to know exactly what I changed in the script this time, then go the thread discussing this theme here, and read post #2563. Read the code example that GilbertMark posted.
Section L – Removing album art from the lockscreen
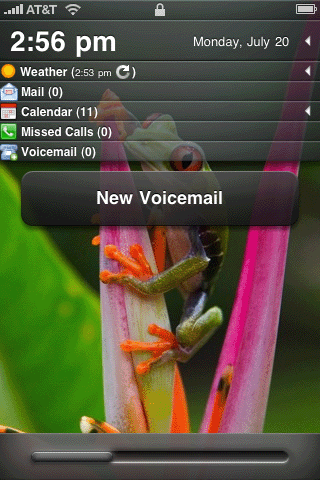
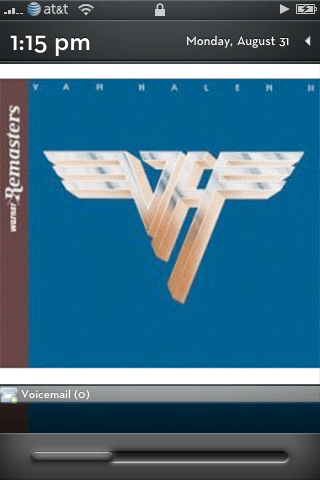
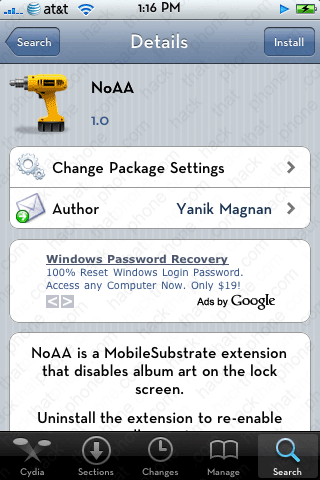
If you don’t like seeing the album art covering your lockscreen information (note the voicemail banner at the bottom), then install the NoAA application from Cydia.
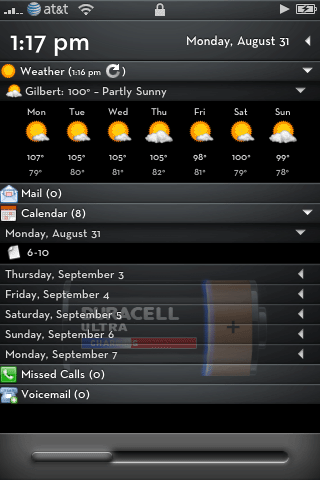
Here we are, back to normal. Note: You can also use the settings panel in LockInfo to affect the media player controls.
I may continue to update this section, should people request more instructions.
Step 3: Radicalization
First I’ll post some pictures of the way I tweaked the Gruppled theme, and if you like it you can follow along, if you hate it, then you aren’t wasting your time beyond these initial screen shots.
The only changes since page 2 are I’ve stripped down the Gruppled Art theme so that it only replaces the slide to unlock, slide to power off, and slide to answer sliders. I also kept a couple UI background graphics for notifications like missed call, and voicemail. I’m including two different modifications to the slide to power down slider. One is the standard one with the text string removed. The other slider better matches the slide to unlock and slide to answer graphics. I am also incorporating one of the default WinterBoard themes – User Lock Background, to allow for changing the lock screen graphic with your own photograph through the Settings panel. You will also be able to see your main battery graphic icon! This appears only when you plug in the iPhone. Since the Gruppled theme has so many sections of information, I recreated the Apple battery theme so that it would appear much lower on the screen, so you could better enjoy this graphic. I’ve also made a version where the battery is half as tall, so you can see more of your information sections. I’m also providing modified Duracell battery themes similar to the Apple themes.
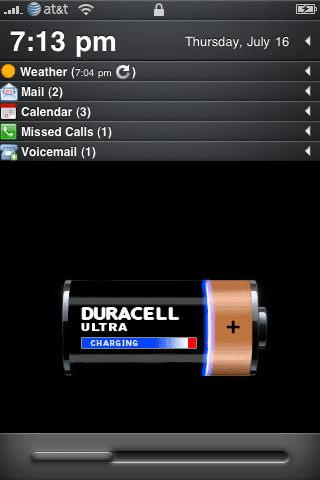
Here’s what my iPhone looks like plugged in, with the Duracell battery theme. Here it is unplugged, with my wallpaper visible.
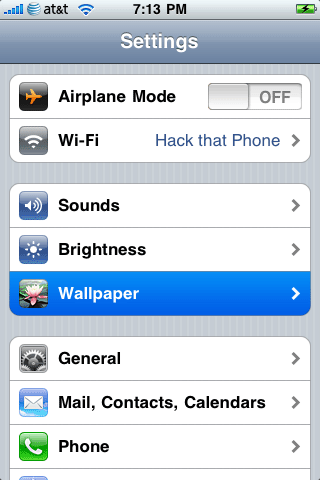
Selecting your own wallpaper image on the go is done through the Settings panel where you can use the stock Apple images, or images from your own library, just like everyone else.
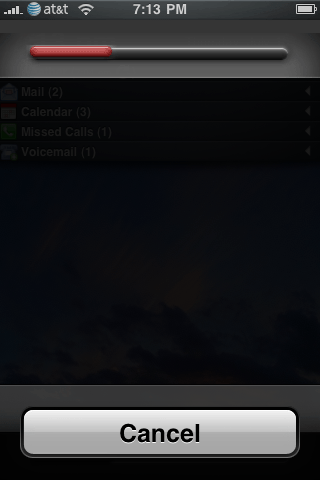
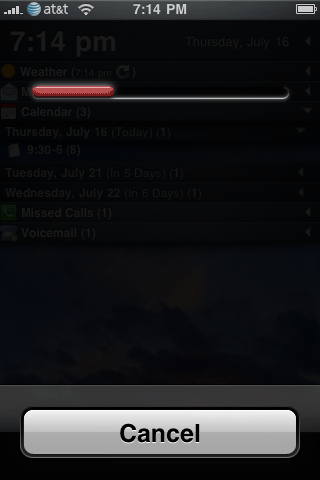
Here is my modified power down slider. I am not a graphic artist, I just took the same background from the lower slider, and extended the top of the graphic (which is a gradient) a little to make it touch the status bar so it would look better. The other slider is the stock one, all I’ve done is remove the power off text, which looks goofy on a clear background.
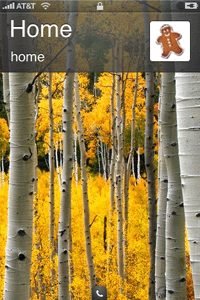
Here is what it looks like when receiving a call…and when missing a call.
This is the half height Duracell battery. Here’s the full size Apple battery.
Here’s the half size Apple battery.
Section M – Uninstalling the previous themes
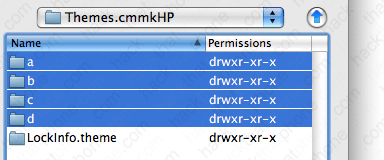
The easiest way to remove themes you don’t want (besides using Cydia) is to go to your Themes.xxxxxx folder and rename each theme to a shorter name. The only theme we are keeping is the LockInfo.theme, which was installed from Cydia.
On your Mac, go to your Applications folder. Then go into the Utilities folder. Launch the application called Terminal and type the following: ssh root@your IP address, enter Alpine for the password when prompted, then change directories to your Themes.xxxxxx folder. Once there, type rm -r followed by the name you gave the themes that you want to delete. Below is what I typed in the Terminal.
Reload your Themes.xxxxxx folder and themes you deleted should be gone. You may have other themes in here, that’s fine.
Section N – Installing the custom themes
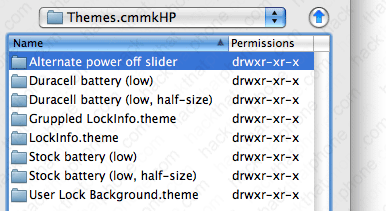
Click here to download my modified Gruppled theme. This download will include: Alternate power off slider, Duracell battery (low), Duracell battery (low, half-size), Gruppled LockInfo.theme (the stripped down modified version), Stock battery (low), Stock battery (low, half-size), and a stock transparent battery.
Decompress this file, and place all these themes into your Themes.xxxxxx folder. You should have something like this now.
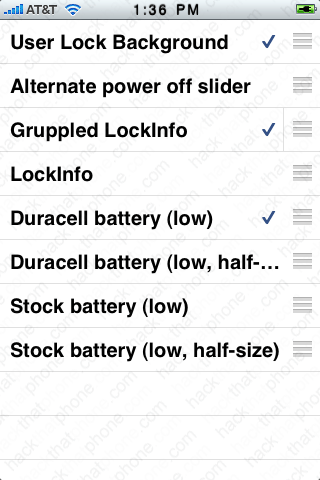
Launch WinterBoard, and set up your theme order like this. You are finished.
Miscellaneous notes:
Things don’t always load the first time. I’ve noticed I have to press the Home button a second time to get email, calls or voicemail to list their contents.
Weather icons don’t seem go into night mode. Night weather icons exist featuring a moon, why don’t they display then?
Edit the style.css file to change font sizes and placement of items.
Calendar problems? http://macthemes2.net/forum/viewtopic.php?pid=499365#p499365
http://macthemes2.net/forum/viewtopic.php?id=16794932&p;=51 Post 1263 shows how to change the colors of the backgrounds for calendar entries, birthday entries, and relative time.

![]()


